DIY Plastic Model Weathering Techniques and Customization
Dec 13, 2024
Whether you are new to the hobby of building plastic model kits, or you are continuing to find ways to hone your skills, learning plastic model weathering techniques can be more difficult than it seems. After all, it can take a lot of meticulous effort and planning to make something that was freshly made appear more like something that was beaten, burned, or otherwise damaged over time.
We welcome you to explore our pro tips for how to master weathering techniques for plastic models including how to customize model cars, trains, planes, and robots, and additional ideas for weathering plastic model buildings to set the stage.
1. Take Time to Get the Right Tools
Like anything in this hobby, the best results start with the best tools, including the right clippers, files, and glues during building, as well as brushes, paints, and more so that you can create weathered designs as an artist rather than by happenstance. While there is something to be said for a knick or other building accident to get a “redemption arc” through weathering, there is often a lot of art that goes into making anything weather damaged or battle-torn look to be intentional rather than a mistake of the builder.
After all, the goal of any plastic model weathering technique is to ensure that the end result looks natural rather than haphazard. Taking the extra time to neatly clip every nub and sand the rest, delicately undo any misconnected parts with tweezers, and being sure to remove any residue of any glue you had to use, is already the first step in ensuring that your model kit has a solid foundation for weathering.
As for how you build, such as if you choose to assemble exactly according to the instructions or if you wait to add detail until after putting each element together piece by piece (i.e., each Gundam leg and arm remains unattached until the final assembly), each method has a few different schools of thought and also varies by model. For now, just know that the best customization starts with a little planning ahead and patience during building.
2. Two Key Plastic Model Weathering Techniques
Once you have built your model, it’s time to start delving into the many weathering techniques available! Before you proceed, however, this is a time to once again check to make sure you have the right tools to make sure the end result is to your liking. For those ready to take it to the next level, know that a spray gun for a base coat is a solid investment, especially if you need it to cover large surfaces such as for weathering plastic model buildings for a bigger scene.
Generally speaking, for many Japanese model kits, it is best to start with spraying your piece with a thin layer of a matte topcoat for a better foundation for any other paints to follow.
Washes
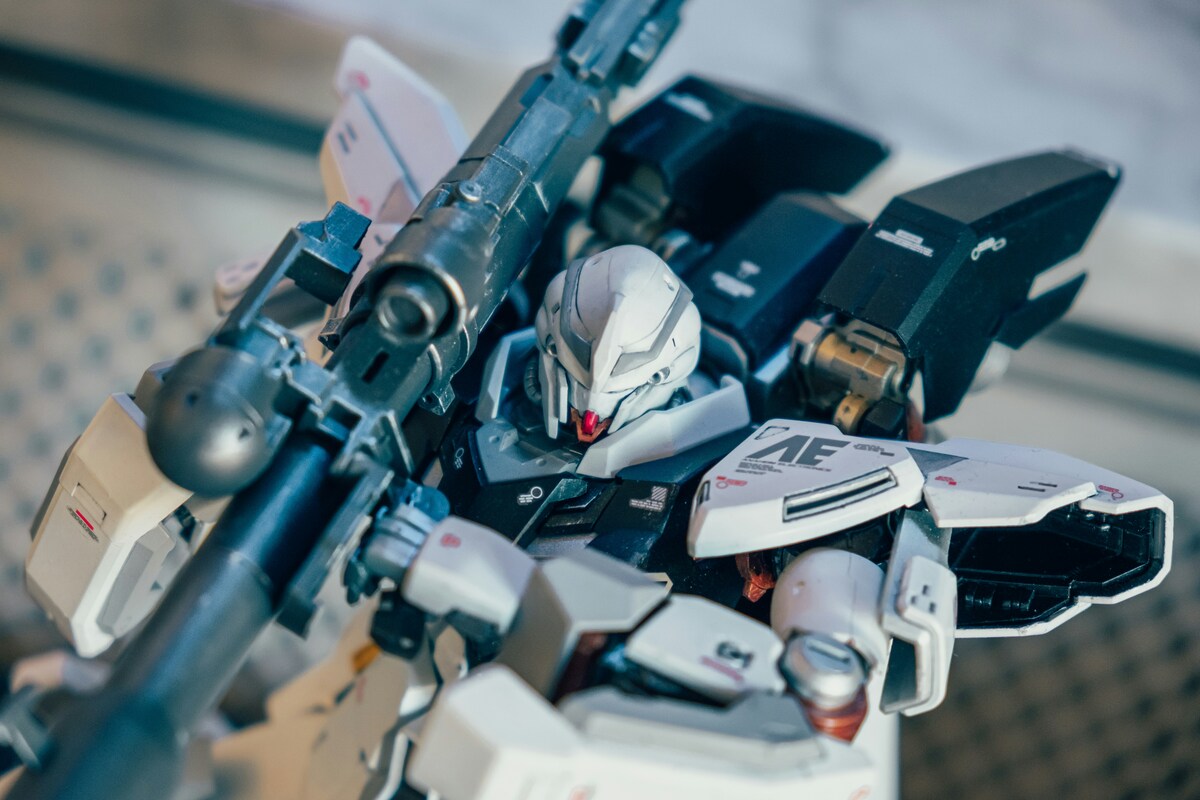
This form of plastic model weathering technique calls for a slightly dampened paint brush, sponge, or other soft and slightly wet material to lightly coat your kit with a very thin layer of paint. Generally, you’ll want to use acrylic paint for recessed areas such as the contours of model cars or the inseams of a model Gundam. This technique can even enhance the look of a metallic object that sailed through many tribulations before docking at a port or parking in the garage.
Dry Brush
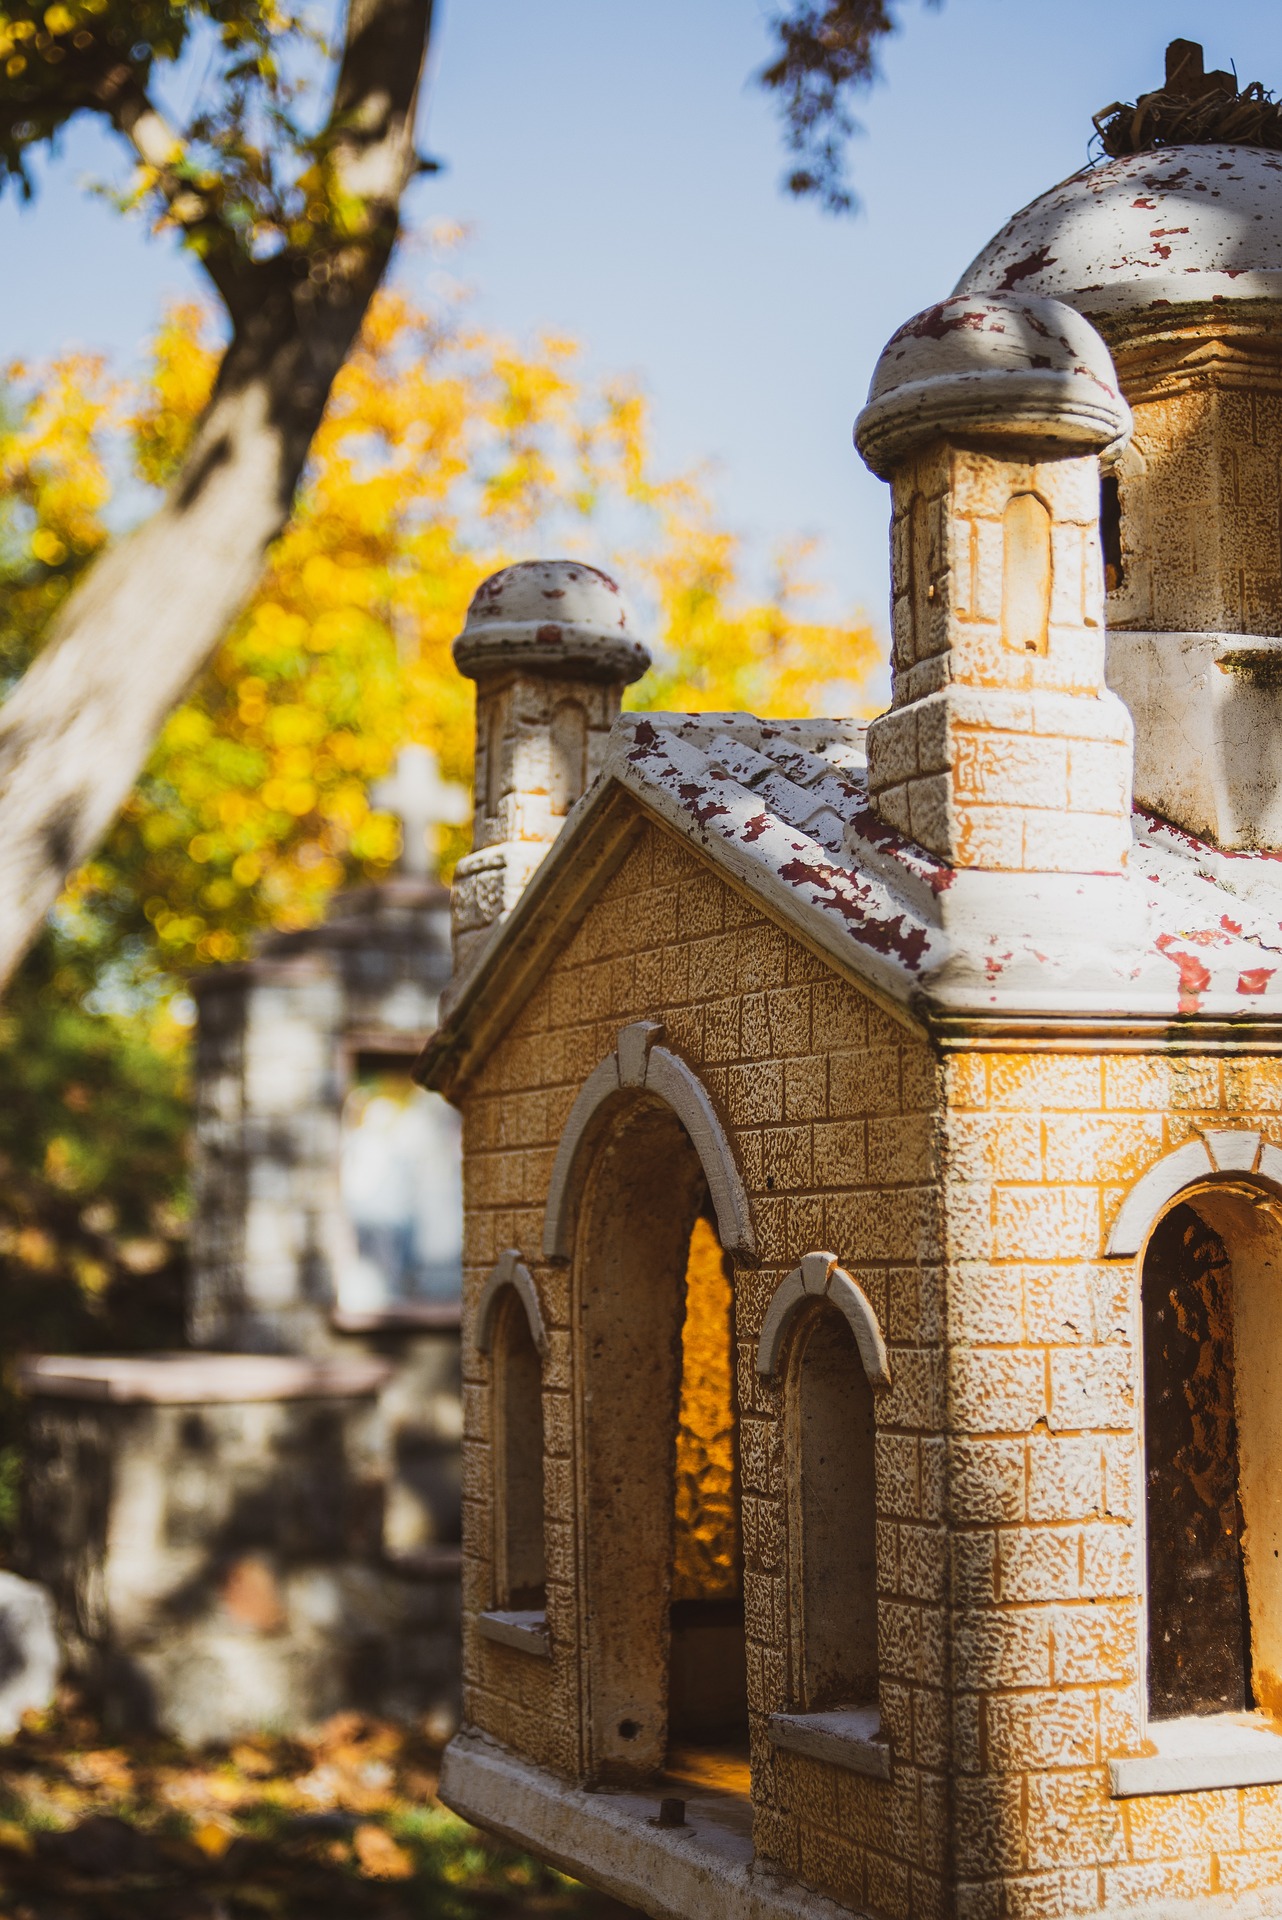
Contrary to washes, and as the name suggests, this is where you use materials like pastels or other pigments with only a dry paint brush. It is best to apply this method in grooves during your build as well as on other surfaces to make it appear that dirt, rock, or other materials have made contact with the outside of your creation. This approach to weathering plastic model buildings can help make it look like soot leached into the brick or urban grime seeped into the tiles, and otherwise give a chalky, “beaten,” or dilapidated look.

Try Other Customization Tools

In addition to acrylics that are designed for models, look for pigments and pastels that can add texture to a building in a way that realistically and efficiently creates a muddy, burned, or otherwise dirty effect.
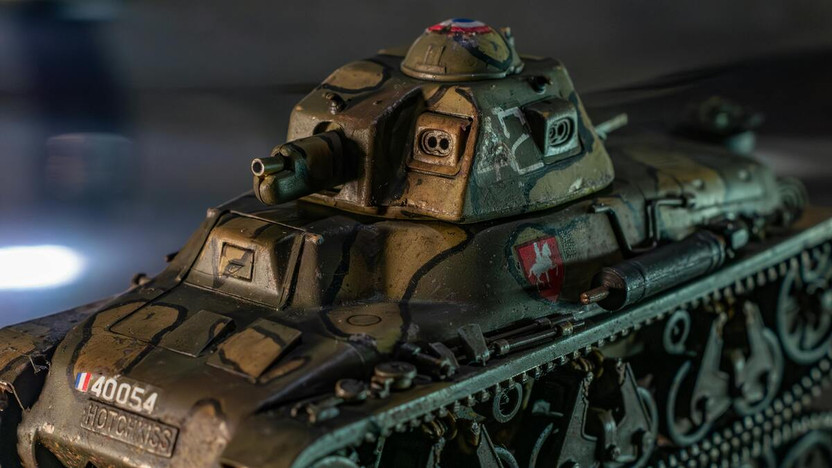
One other tried and true method, especially when considering how to customize model cars and other vehicles, is through decals. Whether you apply a wet or dry decal is up to you, but know that this is a method even the most experienced builders consistently gravitate to, especially when recreating a famous series or a historic event.
3. Get Creative for Display-Worthiness
On a final note, think about how your choice of display can enhance that weathered “look.” After all, even though weathering techniques for plastic models are varied, collecting dust isn’t one. Finding a plastic display case to keep your piece looking pristine can save a lot of frustration when it comes to maintaining your work!
Whether you are weathering plastic model buildings to enhance a scene, such as for a model train or a Gundam battle, or you are building the model kit first, weathering always looks best in full context. Keeping to the same materials and style for consistency can make a huge difference, as well as considering other elements to enhance the weathered look. For example, consider adding kit accessories like foliage, rocks, or even to-scale animals or people that can reflect a scene ranging from a mundane farming town to an edgy dystopian sci-fi series.
Like anything in a hobby, the most important thing is having fun. So feel free to experiment, practice, and keep visiting Plaza Japan and our blog for more ideas and supplies to enhance your building experience!
 JPY
JPY  Euros
Euros
 British Pounds
 Australia Dollars
 US Dollars
 Canada Dollars
 Chinese Yuan
 Singapore Dollar
 Hong Kong Dollar


